You tin can transfer files into and out of a Linux EC2 instance from a local computer running Windows by either of these methods:
WinSCP provides a graphical user interface (GUI) that allows yous to elevate and driblet files between your local figurer and your AWS case. This is like to using Windows File Explorer.
PuTTY Secure Re-create is run from the Windows Command Prompt
Processing using an EC2 Case requires that you move the files to be processed to the instance, and then remove the products created before the example is terminated.
Prerequisites
You must have created a PuTTY Private Key (.ppk) file every bit described in the How to Connect to your EC2 Instance using PuTTY V1.i data recipe. The .ppk file volition be used in Transferring Files Using WinSCP and Transferring Files Using PuTTY Secure Copy (PSCP).
Find Your EC2 Instance Public DNS
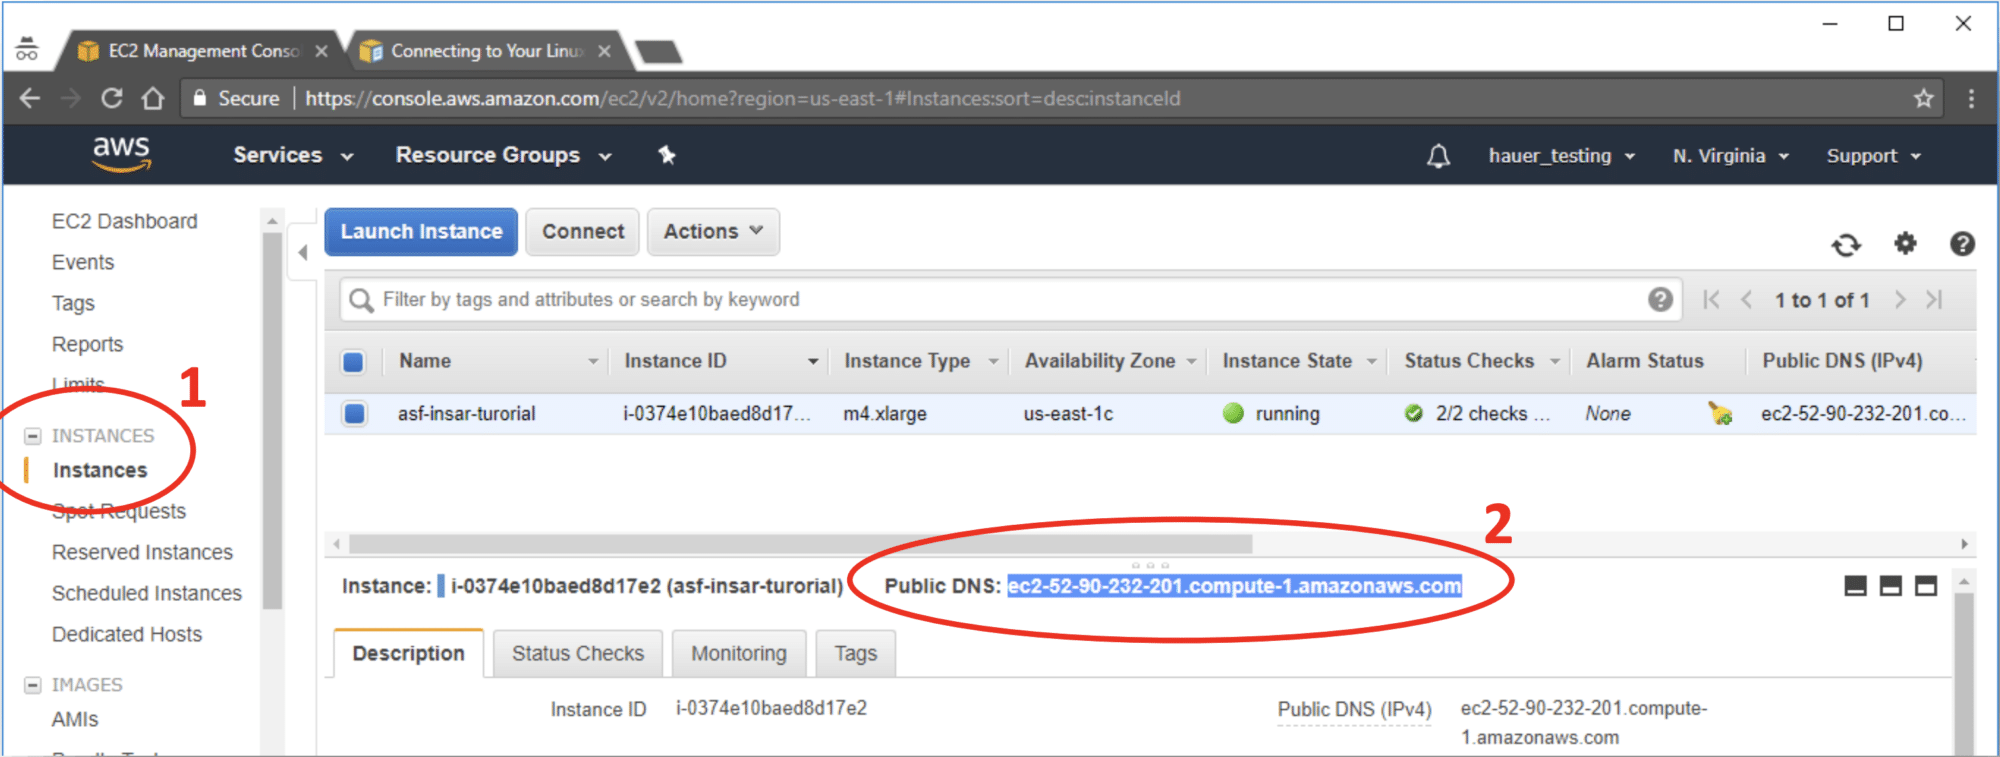
Open the AWS Instances window in the EC2 Management Console (ane).
The Public DNS of your EC2 instance displayed in this window (2) will exist used in the Transferring Files Using WinSCP section and the Transferring Files Using PuTTY Secure Copy (PSCP) section.
The AWS EC2 Management Panel.
Transferring Files Using WinSCP
Download and install WinSCP.
Click on Installation package and and so utilise the default installation options.
Start WinSCP past clicking on the Desktop icon.
WinSCP Login window.
Click on New Site (1).
In the Host proper noun box (2), enter the Public DNS displayed in your EC2 Management Console Instances window.
In the User proper noun box (three), type "ubuntu."
Click on the Advanced push button.
Advanced Site Settings window
Nether SSH (1), click on Hallmark (ii)
Under Private key file (iii), click on the … push button and navigate to the folder where your PuTTY Individual Key (.ppk) file is located.
Select the .ppk file.
Click on the OK push to close the Advanced Site Settings window.
If you want to save your settings to use again later on, click on the Save button in the WinSCP Login window and proper name the settings.
Note: If y'all terminate your EC2 example and restart it, a new Public DNS will be assigned. Yous will need to copy and paste this into the WinSCP "Host name" box before you can connect.
Click the Login button
The first time you connect to your example, yous will be asked near connecting to an unknown server.
Click the Yes button to go on.
After yous have continued, the left pane of the window volition display the file contents of your computer and the right pane displays the contents of your EC2 instance.
Drag and drib files from your computer into your EC2 instance to process. When processing is consummate, drag and driblet the products from EC2 to your computer.
Important: Files must be transferred from your EC2 instance to your computer before you lot stop the instance!
Transferring Files Using PuTTY Secure Copy (PSCP)
Open a Windows "Control Prompt" window
Windows 10
Click on the First button at the extreme left of the Taskbar.
Scroll downwards the list of Apps to the Windows System folder.
Expand the folder and click on Command Prompt.
Or, click the Start push button and type "cmd." Select "Control Prompt" from the search results.
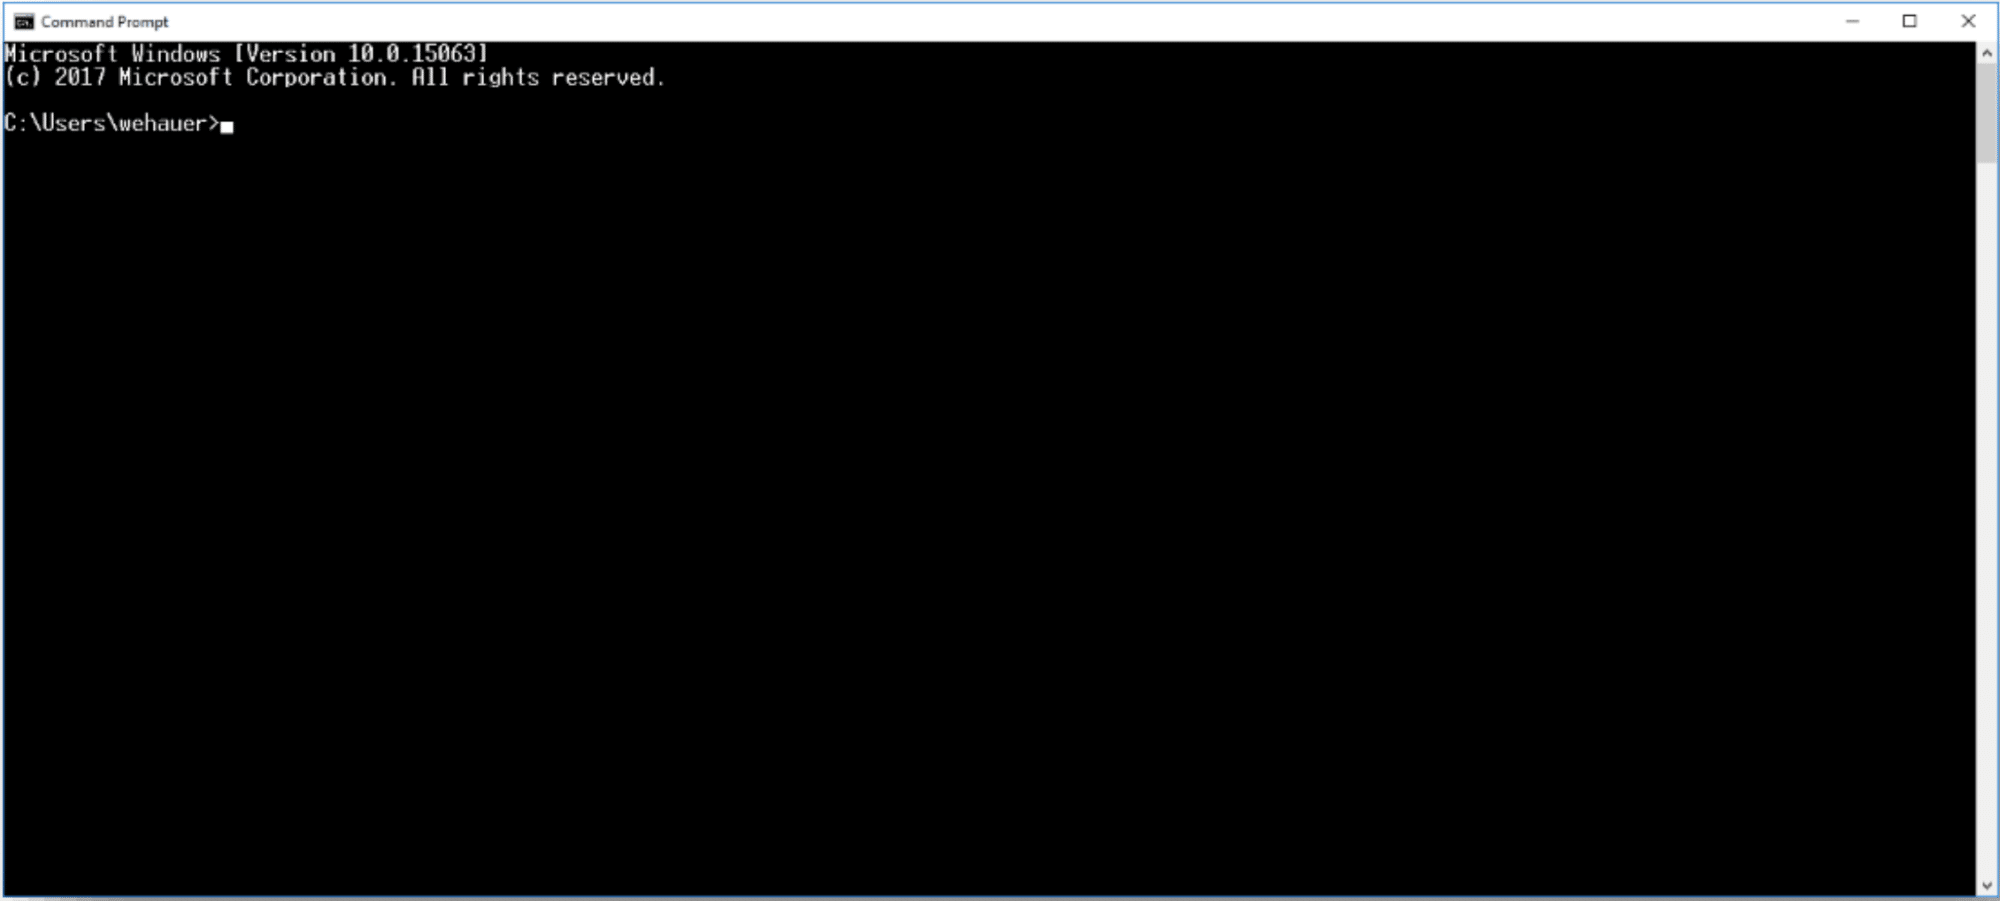
The Control Prompt window volition open up.
The Windows Command Line.
The Windows 10 Taskbar.
Windows 7
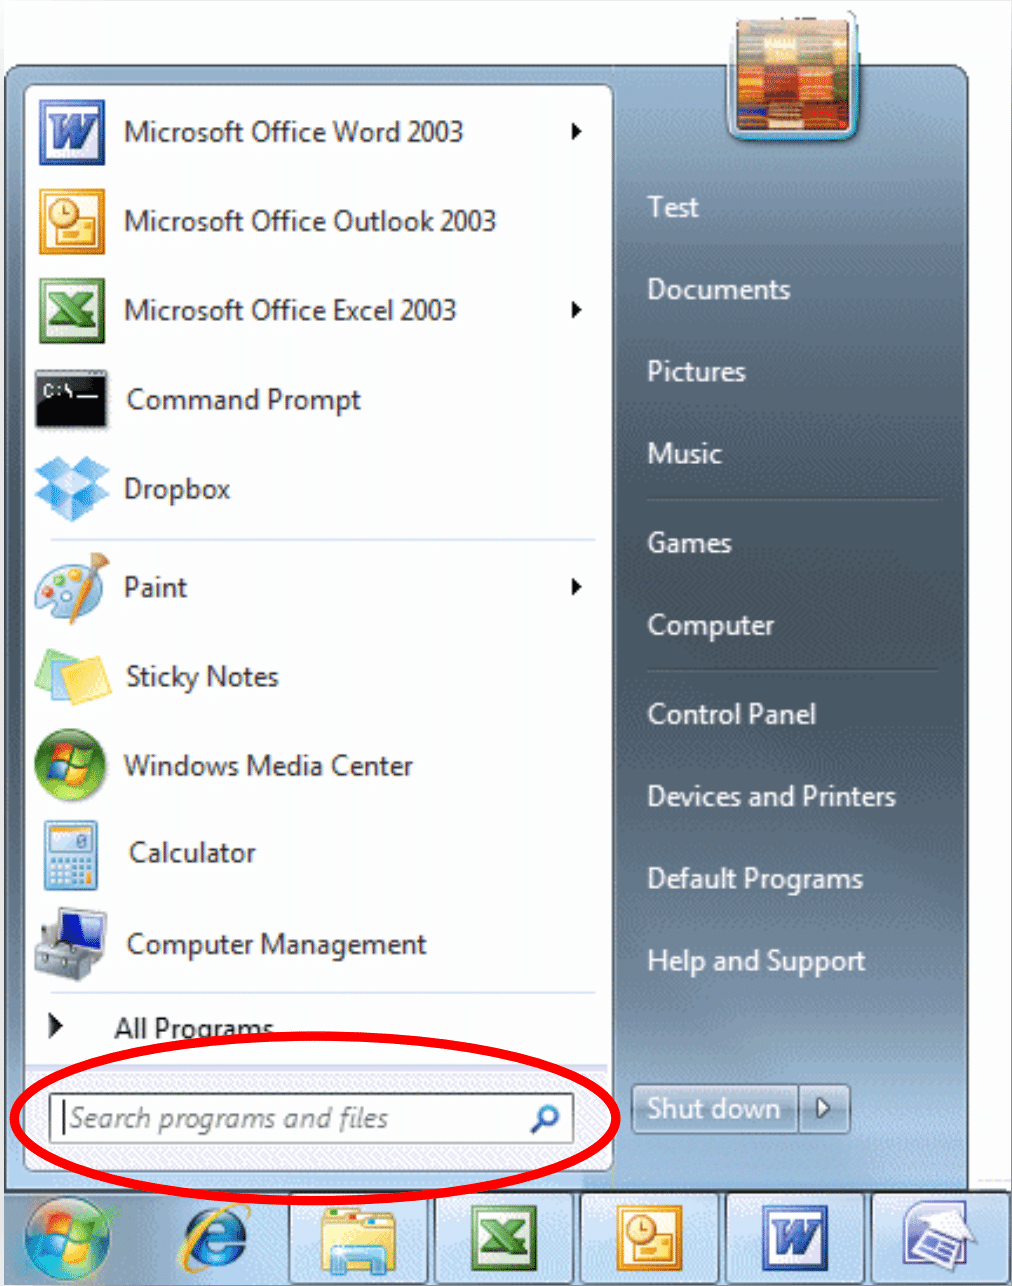
Click on the Start button at the left of the Taskbar.
In the Search programs and files box, type "cmd." Select "Command Prompt" from the search results.
The Command Prompt will open up.
The Windows Command Line.
The Windows 7 Taskbar.
Notation: When using PSCP to transfer files between your computer and your EC2 example, your "PuTTY Private Key (.ppk)" file must be in the folder you are working in, or you lot must provide a path in the PSCP control to the folder the file is located.For example, if "AWSkey.ppk" file is stored in the binder named "keys," include this path in the PSCP control:
C:\Users\username\keys\AWSkey.ppk
Re-create a File Into Your EC2 Instance
At the Windows command prompt blazon (notice where spaces are placed):
Example: To motility the file S1A_EW_GRD.zip from your Windows Downloads binder to the /abode/ubuntu directory of your EC2 instance.
Utilize Windows File Explorer to move your awskey.ppk file to your Downloads folder, or provide a path to the folder your.ppk file is located in.
At the Windows control prompt, navigate to your Downloads folder using the change directory (cd) control:
C:\Users\current_user>cd Downloads and press Enter
At the control prompt, blazon the PSCP command, which includes your .ppk filename (and path if necessary), the name of the file you lot desire to transfer, the "Public DNS" of your EC2 example, and the path to a binder in your instance:
Note that the .ppk file must be in the folder you run the command from, or y'all must include the path to the file in your PSCP command.
If you don't include a local destination path and folder in the control, the file will download into the folder the command is run from. In this case, the command syntax would be:
Example: Move a product generated from an application out of your EC2 example PRODUCT directory to the Data binder on your Windows calculator.
Apply Windows File Explorer to move a copy of my awskey.ppk file to your "Data" folder, or provide a path to the folder your.ppk file is located in.
At the Windows control prompt, navigate to your "Data" folder using the change directory (cd) control:
C:\> cd Data and press ENTER
At the command prompt, blazon the PSCP control, which includes your .ppk filename, the Public DNS of your EC2 instance, and the name of the file you want to transfer.


0 Response to "How to Upload Files in Aws Cluster"
Post a Comment